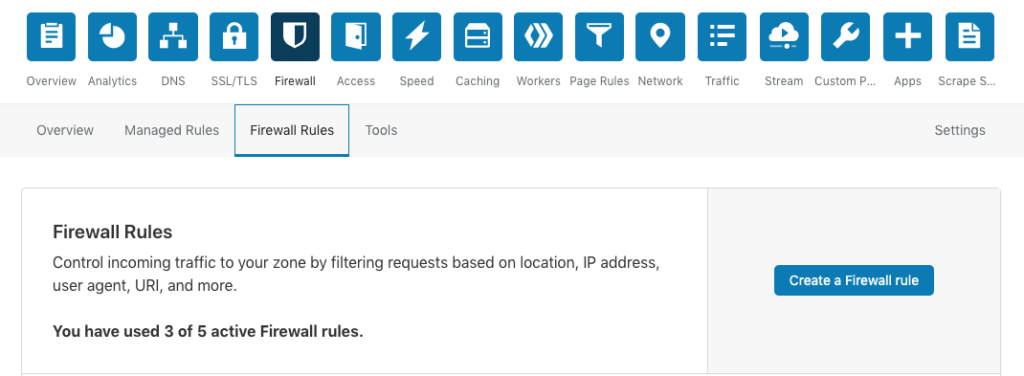
On the free plan, Cloudflare grants five firewall rules. By adding WordPress-specific Cloudflare firewall rules, you can secure your site and block attacks before they even reach your server.
Cloudflare firewall rules wordpress
There are many tips, guides and documentation available on the internet. In this article we will not go into detail, I have consulted many sources and read documentation. While investigating I have tested various firewall rules and want to share my findings so that you can only adopt the most important firewall rules and immediately make your website a bit more secure.
Create 3 firewall rules for instant protection
Those rules will protect you from:
Badbots, basic login protection and content/common attacks protection. Go ahead and copy and paste those expressions in your firewall rules.
1 Login Protection
Create a firewall rule named “Login protection” and copy this expression to the expression editor:
(http.request.uri.path contains "/wp-login.php")
or (http.request.uri.path contains "/login/")
Choose an action: JS Challenge (choose Challenge (Captcha) for more aggressive protection)
Click “save” to let the rule become active.

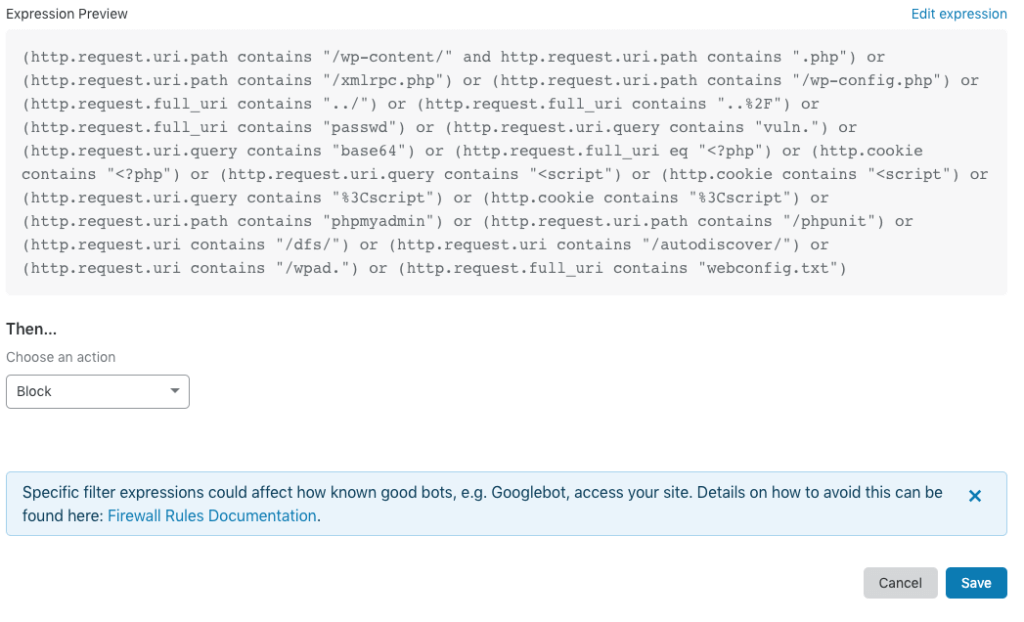
2 Content and common attacks protection
Create a firewall rule named “Content protection” and copy this expression to the expression editor:
(http.request.uri.path contains "/wp-content/"
and http.request.uri.path contains ".php")
or (http.request.uri.path contains "/xmlrpc.php")
or (http.request.uri.path contains "/wp-config.php")
or (http.request.full_uri contains "../")
or (http.request.full_uri contains "..%2F")
or (http.request.full_uri contains "passwd")
or (http.request.uri.query contains "vuln.")
or (http.request.uri.query contains "base64")
or (http.request.full_uri eq "<?php")
or (http.cookie contains "<?php")
or (http.request.uri.query contains "<script")
or (http.cookie contains "<script")
or (http.request.uri.query contains "%3Cscript")
or (http.cookie contains "%3Cscript")
or (http.request.uri.path contains "phpmyadmin")
or (http.request.uri.path contains "/phpunit")
or (http.request.uri contains "/dfs/")
or (http.request.uri contains "/autodiscover/")
or (http.request.uri contains "/wpad.")
or (http.request.full_uri contains "webconfig.txt")
Choose an action: Block
Click “save” to let the rule become active.
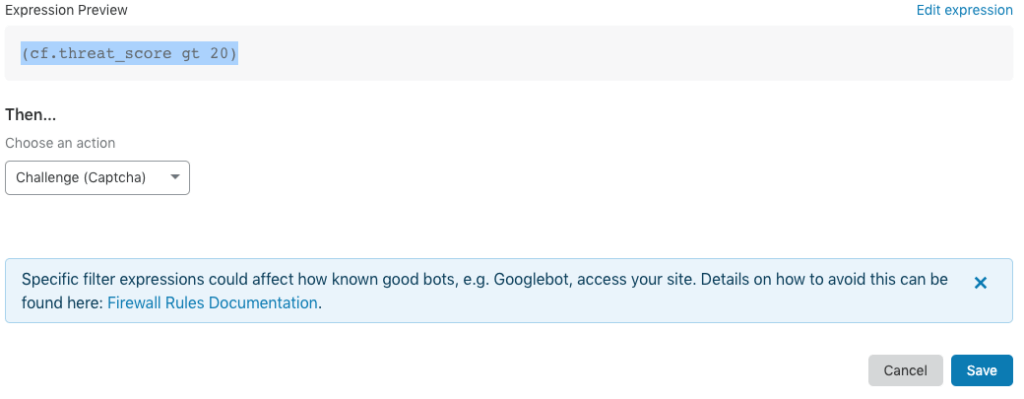
3 Badbots & actors protection
Create a firewall rule named “Cf threat score” and copy this expression to the expression editor:
(cf.threat_score gt 20)
Choose an action: Challenge (Captcha)
Click “save” to let the rule become active.
Conclusion and recommendations
With these settings, you can make optimal use of Cloudflare’s free plan. This way you have a rule for 3 actions:
- JS Challenge
- Challenge (Captcha)
- Block
By the way the advantage is that expressions can be combined so that you can use only 3 of the 5 free firewall rules. The actions and expressions can be customized to your liking. This way you can use a more aggressive security or less aggressive.
It came to our attention that a JS Challenge can trigger a Captcha Challenge in some cases. So we will chose this less aggressive JS Challenge for the login protection, it is just uncomfortable for legitimate users and if their session expires they need to do a captcha again if you choosed Challenge instead of JS Challenge.
CF Threat Score
The field cf.threat_score is Cloudflare’s AI score in numbers.
cf.threat_score number
Represents a Cloudflare threat score from 0–100, where 0 indicates low risk. Values above 10 may represent spammers or bots, and values above 40 identify bad actors on the internet. It is rare to see values above 60. A common recommendation is to challenge requests with a score above 10 and to block those above 50.
In this article we used the average number of 20 in our example, but 15 will do fine also. Please feel free to modify the examples given.