How to install CloudPanel. CloudPanel is a free server control panel for PHP, it uses nginx and MySQL (CloudPanel uses a high performance MySQL version from Percona), Redis and Debian 10. Version 2 will also support Ubuntu 20.4 LTS and Debian 11.
An easy to use control panel, it can be up and running within 60 seconds and supports all common PHP Apps like WordPress. It is a lightweight web server, and performs good on relative small VPS specs. CloudPanel is also available as one click application at most cloud providers like: Digital Ocean, Vultr, Linode, Azure, AWS and GCP.
On this page, we explain step by step how to run CloudPanel on a dedicated server or any other cloud vps providers like Linode or Vultr.
For the installation, you need an empty server with Debian 10 (Buster) with root access. Minimum server requirements are 1 vCPU and 2 GB of RAM.
*This guide is not up to date as of the release of Cloudpanel 2.0, for an updated manual see the Cloudpanel documentation: https://www.cloudpanel.io/docs/v2/getting-started/other/
Installation
- For installing the CloudPanel, we first need to login with SSH.
ssh root@x.x.x.xReplace x.x.x.x for your server ip address.
2. Update the sources and install required packages first.
apt update && apt -y upgrade && apt -y install curl wget sudo3. Start the CloudPanel installation.
curl -sSL https://installer.cloudpanel.io/ce/v1/install.sh | sudo bashAccess CloudPanel
you can now access CloudPanel via: https://x.x.x.x:8443
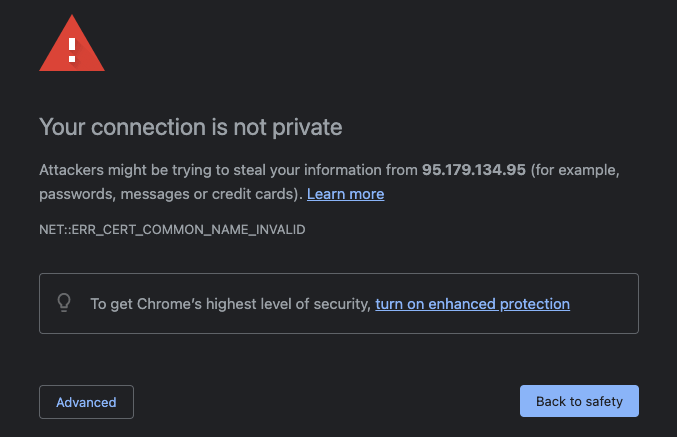
Ignore the self-signed certificate warning and click on Advanced and Proceed to continue to CloudPanel and setup your account.
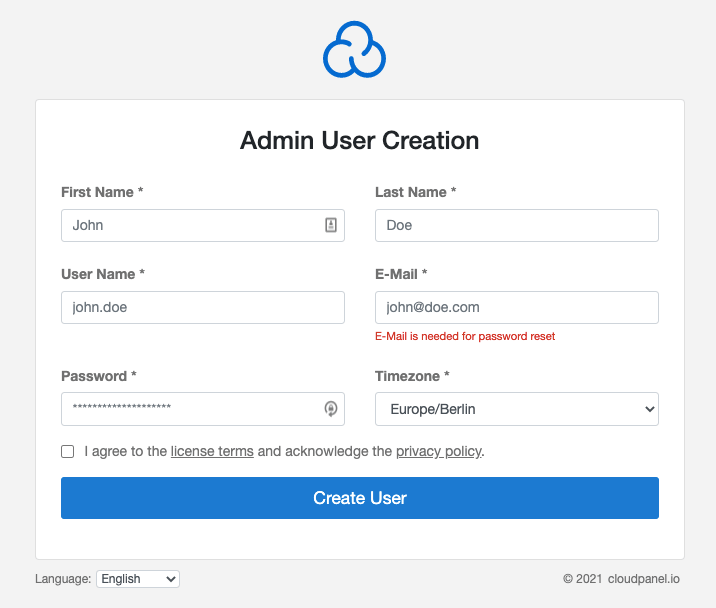
Setup your CloudPanel account.
Conclusion install Cloudpanel on Debian 10
The installation is simple and fast, it took me about 15 minutes to create a virtual machine and to install Cloudpanel. The most of the time I was sitting waiting for scripts to process and terminate.
Control panel
The control panel is clean and easy to navigate. Adding websites is easy and you can use free Let’s Encrypt SSL certificates. By choosing the WordPress Vhost template when creating a website the vhost file will be optimized for WordPress or other popular app of your choice.
PageSpeed module
The PageSpeed module can be activated in the vhost file via the control panel by uncomenting the corresponding lines.
  #include /etc/nginx/pagespeed.conf;
  #pagespeed on;
  #pagespeed FileCachePath "/home/cloudpanel/htdocs/domain.com/wp-content/cache/ngx_pagespeed/";
Change domain.com to the corresponding website or domain name.
Redis
Redis is also supported and in order to use it within WordPress just install the Redis Object Cache plugin and activate it and then in settings activate it again.
CloudPanel control panel has everything you need to host (WordPress) websites. Except for email.
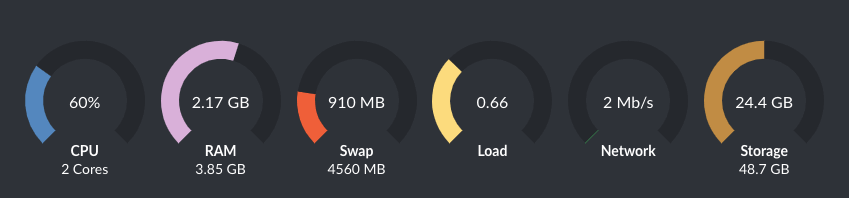
Performance
The performance is as expected from nginx in combination with Debian. I used a small 2 vCPU with 4GB of RAM and it can run multiple websites with tens of thousands of visitors a day. No problem at all running this lightweight web server on low specs and superior performance and page speed results from GTmetrix even under pressure with CPU loads of 60% on average.
Resources: CloudPanel documentation – Vultr
If you order or subscribe using our link to Vultr we may earn a commission and you will get $100,- credit to test or use their service. Unused credit will expire after 30 days. They offer an one click installation of CloudPanel or you can try this tutorial on a clean Debian 10 machine.
Firewall settings in order to use FTP with Cloudpanel
If you are using a firewall you should configure rules in order to be able to ftp to the cloudpanel server: be sure to open tcp ports 20-21 and 49152-65534 for inbound and outbound traffic.
WordPress asks for FTP credentials when updating or installing a plugin or theme
This happens when you uploaded WordPress via FTP and the owner of the files is the ftp user, in order to get it working I had to change ownership of the uploaded files of the domain using SSH.
To change ownership to the Cloudpanel user “clp” use this command:
chown -Rf clp.clp /home/cloudpanel/htdocs/domain.comTo change ownership to the Cloudpanel web user “1000” use this command:
chown -Rf 1000.clp /home/cloudpanel/htdocs/domain.comChange domain.com for the folder you want to change ownership for.